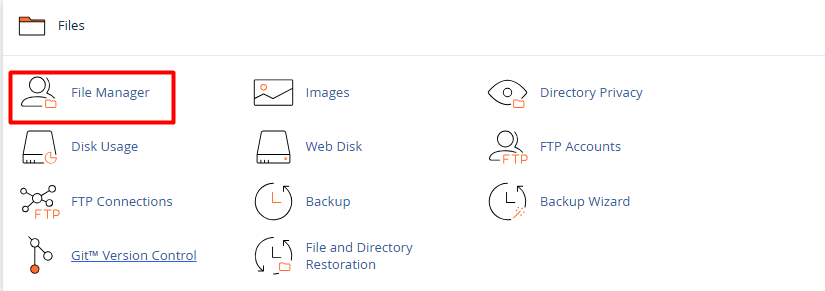
1.Log in to your cPanel account and go to the File Manager (located in the "Files" section).
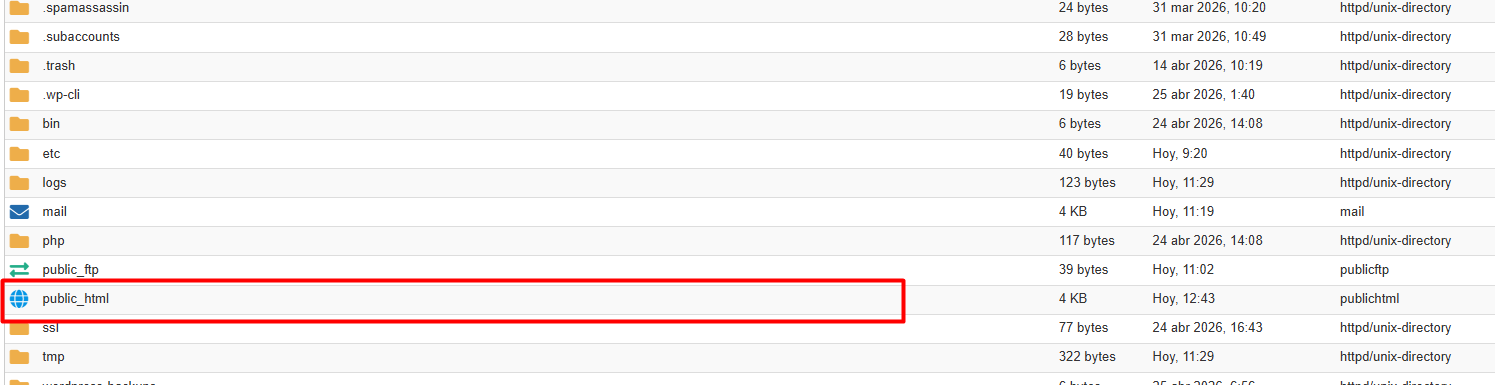
2. Enter the public_html folder. If the file does not appear, click Settings (top right corner) and enable the "Show Hidden Files (dotfiles)" option.
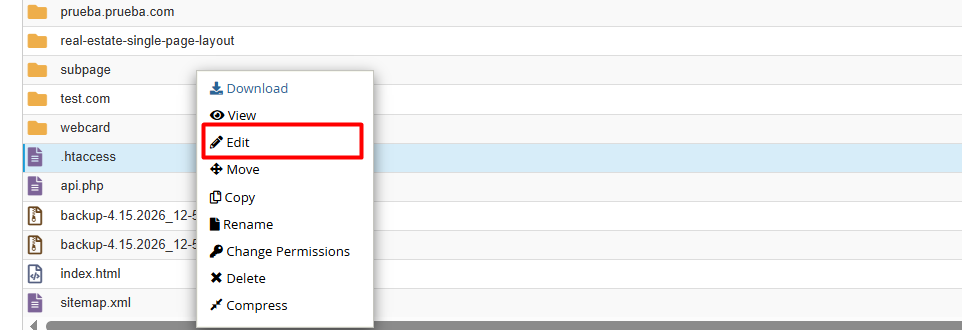
3. Right-click on .htaccess and select the Edit option.
4. Implementing Rules (Syntax)
Copy and paste the code block that best suits your needs at the end of the file:
Recommended for development environments or administrative areas.
apache =< 2.3
Order Deny,AllowDeny from allAllow from 1.2.3.4
apache =>2.4
Require ip 1.2.3.4

Require ip 5.6.7.8
(Replace 1.2.3.4 with your real IP).
Ideal for mitigating attacks or restricting unwanted users.
apache =< 2.3
Order Allow,Deny

Allow from all

Deny from 9.10.11.12
Apache => 2.4
<RequireAll>

    Require all granted

    Require not ip 9.10.11.12

    Require not ip 13.14.15.16

</RequireAll>
You can block entire networks by omitting the last digits.
apache =< 2.3

Order Allow,Deny

Allow from all


Block all IPs staring with 123.45

Deny from 123.45.
Apache => 2.4
Block all IPs staring with 123.45.x.x

<RequireAll>

    Require all granted

    Require not ip 123.45

</RequireAll>


Using CIDR Format (Example for a specifig range )

Require not ip 192.168.1.0/24
• Apache Version: On servers running Apache 2.4 or higher, the standard syntax has evolved to Require ip [address].
• File Permissions: To ensure server stability, the .htaccess file should always maintain 644 permissions.
• Simplified Alternative: If you prefer to avoid editing code, you can use the native IP Blocker tool in the "Security" section of your cPanel, which automates this process.
